
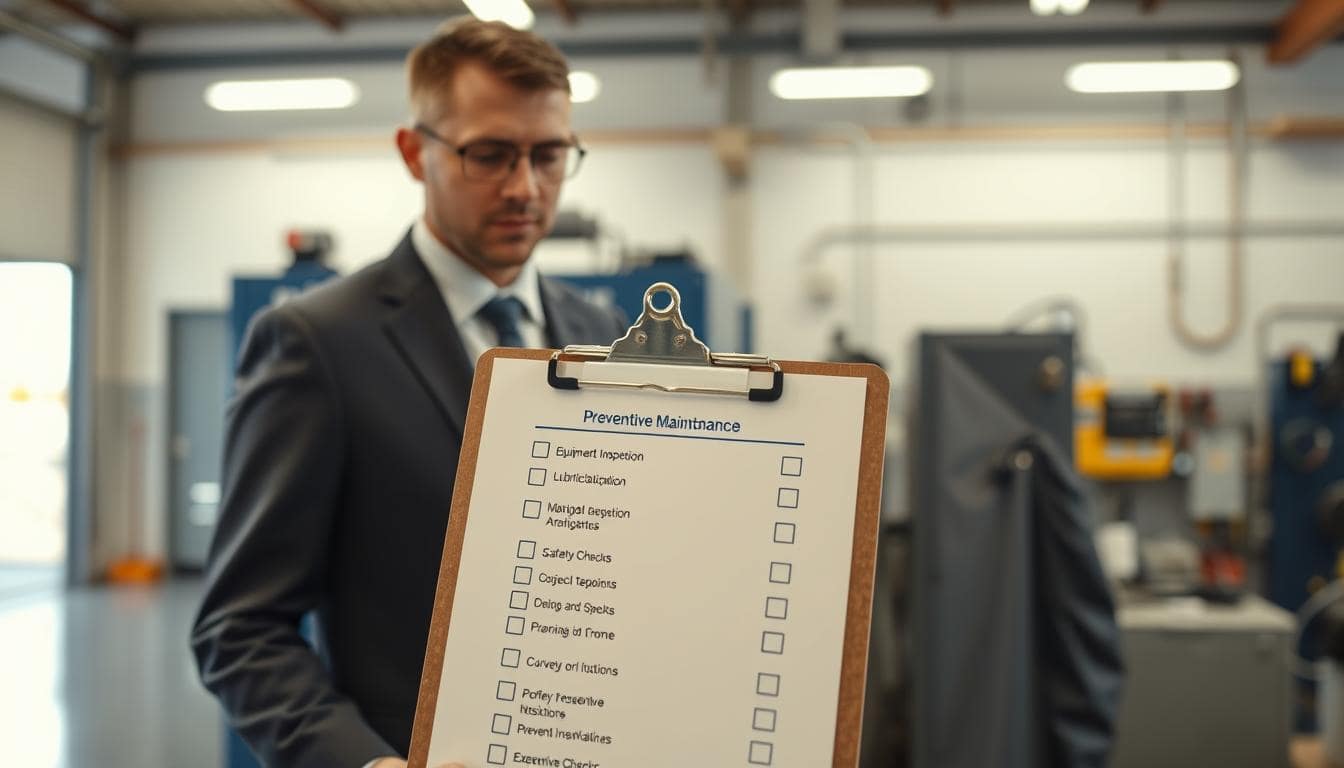
Industrial facilities rely on special machinery to keep running. Regular maintenance is key to keeping things moving. It stops equipment failures that cost a lot and slow down work.
Standard maintenance plans don’t work for unique equipment. Each piece needs its own care plan because of its special parts and how it’s used. Supervisors struggle to keep things reliable without a clear plan.
A 90-day plan is the answer. It helps everyone work together. It also makes sure equipment lasts longer and keeps work flowing smoothly.
This guide helps create a detailed plan. It turns quick fixes into regular, planned care for important equipment.
Build the asset record: serials, BOM, lube map, tolerances, torque specs, drawings
Accurate maintenance is hard without a clear guide for each custom machine. This first step is to create a detailed digital asset record. It’s the main guide for all preventive work.
Every custom piece of equipment needs its own digital profile. This profile holds all key engineering and operation data in one spot. The main parts of this record are essential.
A complete asset record includes the following essential elements:
- Serial Numbers and Asset Tags: Unique identifiers for tracking service history and OEM communications.
- Bill of Materials (BOM): A complete list of components, part numbers, and approved suppliers.
- Lubrication Point Map: A visual guide specifying lubricant types, points, and intervals.
- Engineering Tolerances: Manufacturer-specified limits for wear, alignment, and clearances.
- Torque Specifications: Exact values for every critical fastener, ensuring proper assembly and safety.
- Technical Drawings: Schematics, assembly diagrams, and hydraulic/pneumatic layouts.
Following the manufacturer’s torque values is key for safety and performance. Wrong fastener tightness can cause early failure, leaks, and dangers. Scheduled torque checks must be based on these exact values, not guesses.
This single record is the maintenance team’s go-to source. It helps perform tasks accurately, replace parts correctly, and analyze failures. When a part fails, the BOM and drawings help find and replace it fast.
Also, documented tolerances and specs help measure wear. This info is key for setting up the right inspection schedule and predicting maintenance needs. A solid digital asset record turns guesses into smart, proactive decisions.
Creating this record is the first step for the detailed 30/60/90-day PM tasks that come next. Without it, any checklist is too vague for custom equipment.
30/60/90‑Day PM Ladder with Sample Tasks
A 30/60/90-day PM ladder helps manage maintenance tasks safely. It starts with simple tasks and grows. This way, teams learn and follow rules without feeling overwhelmed.
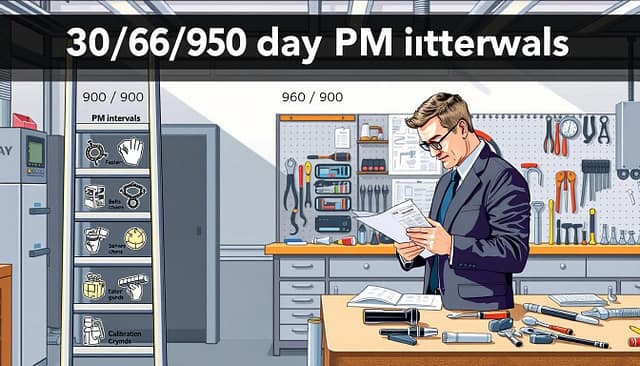
In the first 30 days, teams learn and set baselines. They do basic checks to see how equipment is doing. This phase focuses on safety and finding big problems.
At 60 days, teams start making changes. They fix wear and tear and check settings. This phase makes procedures better based on what they’ve found.
By 90 days, the maintenance is fully in place. Teams do detailed checks and calibrate equipment. This makes maintenance a regular part of work.
It’s important to match task frequency with what the equipment needs. This way, resources are used well and downtime is reduced.
| Task Category | 30-Day Focus | 60-Day Focus | 90-Day Focus |
|---|---|---|---|
| Fasteners | Visual inspection for loose bolts. Hand-tighten accessible nuts. | Torque-check critical connections per specs. Replace missing or damaged fasteners. | Complete audit of all major assemblies. Apply thread-locker where specified. |
| Belts/Chains | Check for obvious cracks, fraying, or misalignment. Note tension. | Measure tension with gauge. Adjust to OEM-specified values. Inspect sprockets. | Perform wear analysis. Replace components showing >10% wear. Verify tracking. |
| Sensors | Verify physical condition and secure mounting. Check for loose wiring. | Test basic functionality (e.g., limit switch activation). Clean optical sensors. | Calibrate critical sensors (pressure, temperature). Document offset values. |
| Guards | Confirm all guards are in place and latches function. No immediate repairs. | Inspect for damage or deformation. Ensure interlocks are operational. | Remove guards for underlying inspection. Repair or replace compromised units. |
| Calibration | Record current settings from displays and controls. No adjustments. | Compare recorded values to standard. Minor zero adjustments if drift is noted. | Full calibration against certified master equipment. Update calibration certificates. |
This ladder helps manage PM intervals to reduce risks. Early stages catch big problems. Later stages handle detailed adjustments and records.
This approach builds a culture of care. Teams get better with each task. Equipment works better as the program grows.
Supervisors should use this as a guide. Adjust tasks and PM intervals for each asset’s needs. The goal is a consistent, yet flexible, maintenance routine.
LOTO and safety verifications per task
Adding safety lockout tagout steps to PM tasks makes a big difference. It turns a simple document into a key tool for managing risks. This is essential for keeping custom equipment safe.
Supervisors need to add safety checks to task instructions. This makes safety a real action, not just a quick mention. For instance, checking a drive coupling must first confirm the motor and gearbox are safe.
https://www.youtube.com/watch?v=WoJBg6oEA3k
- Energy Isolation (LOTO): Make sure all energy sources—like electrical, hydraulic, and pneumatic—are cut off and tagged.
- Fire Suppression System Status: Check that fire systems are ready and access is clear, lowering fire risks.
- Physical Guards and Barriers: Check if guards and barriers are installed correctly before and after work.
- Site-Specific Hazard Controls: Verify area ventilation, permits, or air monitoring is in place.
This approach has many benefits. It formalizes safety, making it a consistent, documented process. It protects technicians by giving them clear, task-specific instructions. Plus, it ensures regulatory compliance by keeping a detailed record of inspections.
In the end, adding these checks to the checklist makes it a solid proof of safe work practices. It shows safety was the top priority before any tool was used.
How to set PM intervals from run‑hours/starts and failure modes
PM intervals are not just about time. They depend on how equipment is used. A fixed schedule can waste resources or cause unexpected breakdowns. The best approach is to use condition-driven triggers.
Start with the manufacturer’s manual. It gives a basic idea of when to do maintenance. But, it’s just a starting point, not the final word.
Then, adjust based on meter data. Look at total hours and start-stop cycles. Machines that run all the time need more checks than those that don’t. Keeping track of this data helps set the right intervals.
Failure mode analysis is the next step. Find out the main ways parts can fail, like wear or corrosion. Maintenance should focus on these areas. This way, you avoid over-maintenance and target high-risk spots.
Environmental conditions also play a role. Extreme heat, dust, or chemicals can wear down equipment faster. Adjust intervals for harsh environments to avoid early failure.
Here’s how to set precise intervals:
- Collect Operational Data: Log run-hours, cycle counts, and production output.
- Analyze Failure History: Review work orders to identify recurring component failures.
- Apply Environmental Factors: Document site-specific conditions like temperature and contamination.
- Establish Condition-Based Triggers: Set thresholds (e.g., “lubricate after 500 hours”) instead of calendar dates.
This method helps move from just fixing problems to predictive maintenance. It makes maintenance schedules more rational and defendable. The aim is to cut waste and avoid big downtime risks.
Setting smart PM intervals is all about balance. It means always checking data against results. This keeps maintenance effective and impactful.
Documenting work in CMMS and closing the feedback loop with OEM support
Doing maintenance tasks is just the start. Recording details in a system and sharing with OEMs is key. This turns a simple list into a rich source of knowledge.
A Computerized Maintenance Management System (CMMS) is essential. It replaces old methods with a digital platform. It assigns tasks, tracks progress, and follows a schedule.

Technicians log every action in the CMMS. They take photos, measure parts, and document everything. This builds a detailed history of each asset.
The benefits of using a CMMS are clear:
- Automated Scheduling: Tasks are set up automatically based on time or dates.
- Real-time Data Capture: Technicians report findings directly from their devices.
- Historical Tracking: The full life of a machine is easily seen.
- Parts Integration: Inventory levels update when parts are used.
Having this history is key for talking to the OEM. Good communication with the OEM is a big plus.
Supervisors use CMMS data to start conversations. For example, if a bearing keeps failing or a sensor keeps drifting, that’s useful info. It helps turn vague complaints into clear engineering talks.
A good feedback process includes these steps:
- Find a common problem or design issue in CMMS logs.
- Make a report with work order numbers, dates, notes, and photos.
- Reach out to OEM technical support with specific questions or requests.
- Put the OEM’s response and any new instructions back into the CMMS record.
This cycle turns maintenance into a team effort. It gives OEMs valuable data and helps facilities get better support. This leads to better equipment performance and longer life.
Using the PM template in the CMMS ensures everything is consistent. It makes sure the feedback loop is based on solid data. This results in equipment that works better, lasts longer, and gets full support from its maker.
KPIs to track: PM compliance, MTBF/MTTR, repeat failures
Tracking the right key performance indicators makes a preventive maintenance program valuable. These metrics show how well equipment is doing and how the maintenance team is performing. They turn guesses into facts for better improvement.
Managers should set clear KPIs from the start. This follows the main Total Productive Maintenance (TPM) ideas. The aim is to make equipment work better through careful, planned care.
PM Compliance Percentage is key. It shows how many PM tasks are done on time. A high rate means a well-organized, proactive maintenance team.
To find it, divide the PMs done on time by the total scheduled. Then, multiply by 100. Most aim for over 90% compliance. This KPI is linked to tracking how much time is spent on scheduled versus unplanned tasks.
Mean Time Between Failures (MTBF) shows how reliable equipment is. It’s the average time between failures. A rising MTBF means better reliability and effective preventive steps.
Calculate MTBF by dividing the total time an asset works by the number of failures. This helps predict when failures will happen and plan better.
Mean Time To Repair (MTTR) shows how fast and efficient the maintenance team is. It’s the average time to fix an asset after a failure. A low MTTR means skilled techs and good parts.
MTTR is found by dividing the total repair downtime by the number of repairs. Keeping track of how fast the team responds is key to managing this KPI well.
Repeat Failure Rate on certain assets is very important. It shows how often the same part or system fails. A high rate means there are unresolved problems.
This metric leads to deeper checks. It might show issues with how things are installed, part quality, or how they’re used. Fixing repeat failures is key to moving from fixing things to preventing problems.
These KPIs help improve TPM efforts. They change the focus from just fixing machines to making the whole production system better. Data on downtime and PM completion rates is used for this analysis.
| KPI | Formula | Target Benchmark | Primary Data Source |
|---|---|---|---|
| PM Compliance | (PMs Completed On Time / Total PMs Scheduled) x 100 | > 90% | CMMS Work Order History |
| MTBF | Total Operational Time / Number of Failures | Increasing Trend | Failure Logs & Runtime Meters |
| MTTR | Total Repair Downtime / Number of Repairs | Repair Work Order Times | |
| Repeat Failure Rate | (Number of Repeat Failures / Total Failures) x 100 | Asset-Specific Failure History |
Regularly checking these indicators helps make smart choices. For example, a low MTBF and high repeat failure rate might mean it’s time to change the design or ask the OEM for help. A high MTTR could mean the team needs better training or more spare parts.
These KPIs close the loop in a TPM-based program. They give the proof needed to adjust PM times, move resources around, and show the program’s value to others. Keeping track of these metrics turns maintenance data into a strong driver for better performance.
Downloadable 90‑day PM checklist + sign‑off sheet
A structured program needs a practical tool. This downloadable 90-day preventive maintenance checklist is perfect for supervisors. It’s designed for custom equipment.
The checklist uses the 30/60/90-day task ladder. It has fields for fastener checks, belt inspections, and sensor verification. You can also track calibration records.
Safety steps like LOTO are included for each task. There are spaces for run-hour data. This lets you track intervals based on actual use.
The sign-off sheet ensures accountability. It formalizes the completion of each PM cycle. It captures technician notes and performance observations.
Download this preventive maintenance checklist to start your program. Use a CMMS platform like Fiix, UpKeep, or IBM Maximo. It automates scheduling and work order generation. Begin capturing reliable data and extend your custom machinery’s life today.


